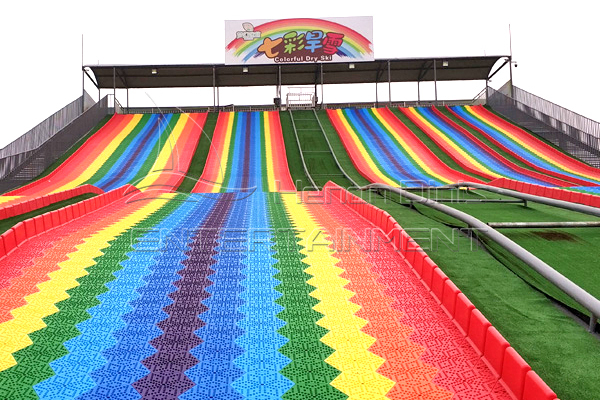
Installing a rainbow slide for sale, an unpowered amusement equipment commonly seen in parks and amusement parks, requires careful planning and execution. With the aim of ensuring a safe and enjoyable experience for its users, here’s a step-by-step guide on how to properly install a rainbow slide ride.
Step 1: Slope Measurement and Site Analysis
The first step in the installation process involves a thorough survey of the intended site to determine if the natural slope is suitable for a rainbow slide setup. An ideal slope gradient would range between 3 to 30 degrees, with a length of 100 to 300 meters. If the existing slope isn’t adequate, modifications using steel frames or artificial embankments can be made to facilitate the installation.

Step 2: Detailed Installation Planning
Taking into account the site measurements and client requirements, a detailed design plan is created, including layout blueprints and construction plans for the ramp. These plans are then reviewed and approved by the client to finalize the construction approach.
Step 3: Site Preparation
Based on the approved construction plan, the site for the rainbow slide ride project is cleared and prepared for construction. This step ensures that the area is ready for the upcoming building stages.
Step 4: Ramp Hardening and Shaping
To guarantee a smooth surface for the ramp, it is essential to harden the ground by using cement, typically to a thickness of 10CM. This process ensures the durability and stability of the slide’s path.
Step 5: Manual Installation of the Rainbow Slide
After the hardening process, the rainbow slide is manually laid out. Post-installation, a test sliding operation is conducted to ensure the sliding range meets expectations.
Step 6: Positioning and Installing Fixtures
The amusement rainbow slide attarction is positioned in a suitable location that does not interfere with other equipment or activities and allows easy accessibility. Depending on the slide’s shape and length, auxiliary tools may be needed for proper placement. Fixtures are then installed to secure the slide firmly in place.
Step 7: Connecting the Slide
The rainbow slide sections are connected to the fixtures, making sure the connections are tight and secure, with no risk of coming loose or breaking.
Step 8: Testing and Adjustments
Once the preliminary installation is complete, testing and adjustments are made to ensure the dry snow slide amusement ride operates smoothly. The slide’s surface is checked for evenness, and any excessive or insufficient curvatures are corrected as necessary.
Step 9: Maintenance and Upkeep
Regular inspections of the rainbow slide and its components are crucial to maintain normal operations and extend the life of the equipment. Cleaning and maintenance of the slide rides and fixtures are performed as needed, ensuring that everything remains secure and stable.
By following these steps, one can assure a successful installation and safe usage of a rainbow slide unpowered rides, providing an exciting and colorful addition to any amusement setting. Remember, the key to a well-loved rainbow slide is not only the thrill it delivers but also the peace of mind it offers through rigorous attention to safety and maintenance. To find quality rainbow slide kiddie rides, you can contact Dinis park designer who provides various amusement rides.
Leave a Reply